Ubuntu is a development Linux distro loved by programmers and developers. When using Ubuntu, Java is one of the tools you must install, especially if you want to develop or run Java applications. Java runs on millions of devices and has occasionally ranked among the best programming languages. As a beginner, installing Java with APT on Ubuntu 22.04 may sound hectic and seem challenging. However, this post aims to break down the entire process into simple and understandable steps, ensuring you get comfortable installing Java with APT on Ubuntu 22.04. Let’s begin!
The Complete Guide on Installing Java with Apt on Ubuntu 22.04
To install Java on Ubuntu 22.04, the only prerequisite required is to have Ubuntu installed and connected to a network. You should note that Java has two key components: JDK and JRE. The Java Development Kit (JDK) offers the development tools you need for Java, including the compiler. As for the Java Runtime Environment (JRE), it lets you execute Java programs.
By default, when you install the Java JDK, it should install JRE. However, we will go through the steps and commands to install both components to ensure everything checks out before you can start using Java on Ubuntu 22.04.
With Java, you can install the open-source version, OpenJDK, or the Oracle-licensed version. For this case, we will install OpenJDK; it is free and can be quickly installed using APT by following the steps below.
Step 1: Update the Repository
Before installing packages, it’s good to update the Ubuntu repository to ensure the sources list references the latest repository when installing packages. Before we update our repository, let’s quickly verify that Java isn’t installed on our system by checking its version, as shown below.
If you get an output similar to the one below, it implies no Java component is installed on your system.

To update the Ubuntu 22.04 repository, run the command below.

Step 2: Install Java Default JRE
Although JRE should automatically install after installing JDK, installing it separately ensures you don’t miss it when installing JDK. Besides, some JDK installations may fail to capture JRE, limiting you from running Java applications.
Install the default JRE with the below command.
Confirm the installation when prompted and let it run smoothly till the end.
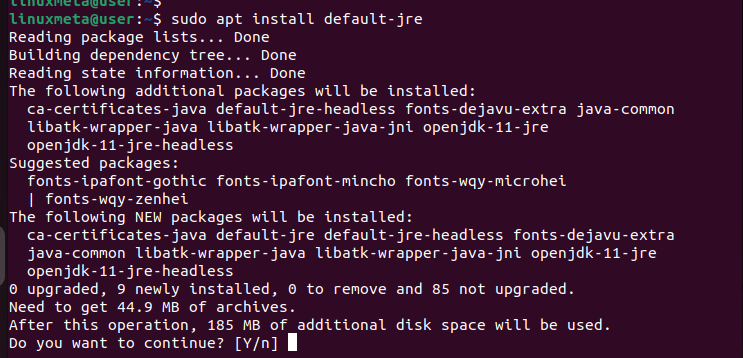
Once the default JRE installation is complete, you will get an output showing that the process is “Done,” as in the output below.

Step 3: Install OpenJDK
Similar to JRE, you have the option of installing the default version. The only drawback is that the default option won’t install the latest version. Sometimes, you may have specific development requirements for installing a particular OpenJDK version.
The kicker is that you can specify what OpenJDK version you want to install. Using OpenJDK 17 as our example, we could install it with the command below.
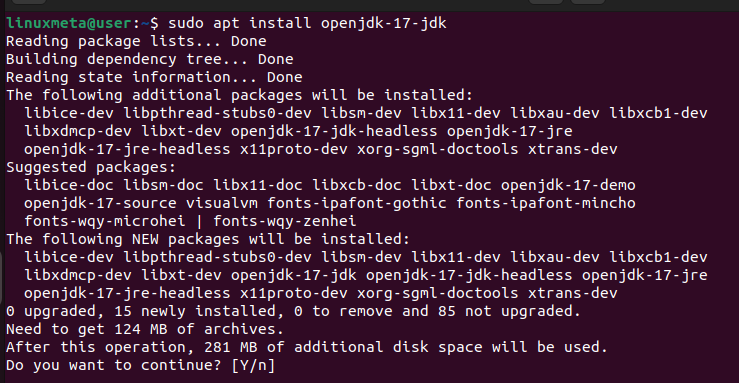
When you get a prompt regarding the installation, press ‘y’ to allow the process to run to completion. Once it is complete, you will have managed to install OpenJDK 17 comfortably in your Ubuntu 22.04 using APT. You don’t have to settle with OpenJDK 17. There are other versions you can opt for.
Step 4: Verify the Installation
So far, we’ve covered the steps to install Java JRE and JDK quickly. You can check the Java version on your system with the command we used in step 1.
You will get an output displaying that OpenJDK is installed and what version. The below output confirms that we have OpenJDK 17 installed, which we opted for during the installation.

With that, we’ve understood all the steps to follow and what commands to use in each step to install Java with APT on Ubuntu 22.04 comfortably.
Conclusion
Installing Java on Ubuntu 22.04 is not a complicated task. You only need to know what steps to follow and what commands to use at each step. This post has detailed all the steps and commands you should know, ensuring you have an easy time installing Java with APT on Ubuntu 22.04.

