The telnet command is used when you want to establish a connection to another system using the TELNET protocol over TCP/IP. Telnet connects via port 23 and allows users to manage remote systems via the CLI.
In most discussions, you will notice that SSH and telnet offer the same functionality. However, telnet is not secure, and SSH is the preferred option thanks to its secure encryption. Nonetheless, this post focuses on understanding the telnet command and how to use it in Linux/UNIX.
How to Install Telnet
When using telnet, you should take caution as although it lets you manage remote systems, your connection can easily be compromised. The data doesn’t use secure encryption, and an attacker can quickly intercept it.
That being said, installing telnet is a straightforward process. The command to run will depend on the system you use. We’ve shared commands for a few Linux/Unix distros. That way, refer to those applicable to you.
For CentOS/RHEL, and Fedora:
Start by updating the package repository.
Next, run the following command to install telnet and the telnet server.
Start and enable telnet once the packages are installed using the following commands.
We then must configure the firewall to allow telnet connection via port 23.
Lastly, reload the firewall with the following command.
For Ubuntu and Debian Systems:
For this example, we are using Ubuntu. Proceed with the following steps.
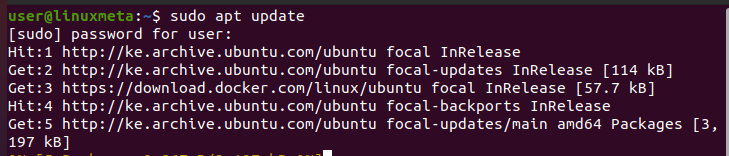
Step 1: Update the Repository
To update the repository, run the apt command below.
Step 2: Install Telnet
Telnet is not available by default. However, we can install it using the command below.
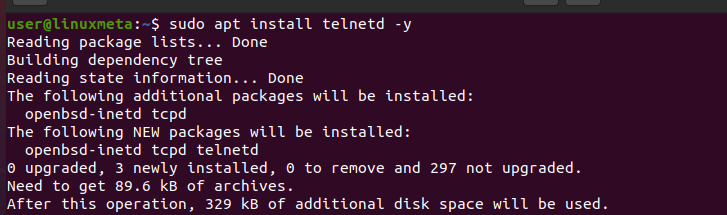
Allow the command to run to completion so the telnet protocol is available on your system.
Step 3: Verify Telnet Installation
After installing the telnet package, we can confirm it is installed by checking the telnet status with the below command.
You should get an output showing the service is active (running).

Step 4: Configure the Firewall
So far, we’ve installed the telnet package and verified that it is running. The next step is to adjust the firewall to allow telnet connections via port 23. For Ubuntu, we will use ufw to add the below rule.

After adding the firewall rule, ensure it is active, and then reload it for the changes to apply.

You can now establish a telnet connection via port 23; the firewall won’t block it.
How to Use the Telnet Command in Linux/Unix
The telnet command follows the syntax below.
The primary way to use telnet is to open a telnet shell by running the command with no options.

Once the shell opens, you can enter the target IP of the host you want to connect to. However, telnet must be installed on the client and host machines. Moreover, you must set the firewall to accept connections via port 23.
Let’s have other examples of using the telnet command.
Example 1: Check for Open Ports
With telnet, you can check if a port on your server is open. To do so, add the server’s IP and the target port you want to check.
For instance, we can check port 80 with the command below.
If the port is open, you will get an output showing that telnet has connected to that host.

Example 2: Check Open Port via Hostname
Instead of using the server’s IP, you can also add its hostname, which could be a domain for that server. For instance, we can check if linuxmeta.com has port 80 open using the command below.

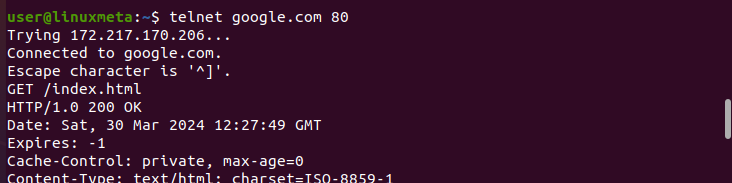
Example 3: Download a Web Page
Once you connect to a server, you can download its web page to a file using a GET request. For this example, we’ve first confirmed that port 80 on google.com is open. Next, we’ve run a GET request to download its index.html web page.
Conclusion
Telnet is an old way of connecting to a server. Before using telnet, be aware that its connection is not secure, and your data can easily be intercepted. This post shared a detailed overview of the telnet command, from installing the telnet package to using it for different tasks.