As a Linux user, finding or locating files is an everyday task, especially if you want to save time. Sometimes, you may not know where a given file is but know its properties, such as when you last accessed it, its file type, etc. Such an instance requires you to understand how to work with the find and locate commands in Linux. This post discusses the two options using examples to ensure you have an easy way of locating files in Linux.
Using the Find and Locate Commands in Linux
The find command is a widely used and preferred way of searching for files in Linux. It follows a hierarchical structure and has numerous options that allow you to customize how your search query is executed.
The find command follows the below syntax.
The locate command is mainly used when you want to quickly search for a file. It narrows its search to only the database, unlike the find command, which checks for every directory in your system.
The locate command follows the syntax below.
If a match is found after running the locate command, you will get a return status of 1 and 0 if it is not found. With this information in mind, let’s understand each command deeper.
How to use the Locate Command in Linux
By default, the locate command utility is not installed in Linux. However, you can quickly install it using the command below.

To search for a file using locate, add its name and execute your command.

You can also check the count of all matched files by adding the -c option.

To ignore cases when searching for files, add the -i option.

You can also save the found results by redirecting the output to a file. Here’s an example.

How to Use the Find Command in Linux
As mentioned earlier, the find command has numerous options, all of which are listed on its help page.
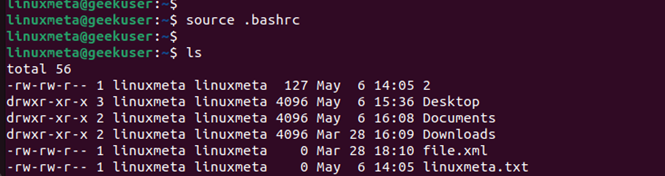
To search for all instances of a given file, specify its name with the -name option.

You can also specify the directory where to search for the file instead of checking the entire system. The below example checks for all text files in the Desktop directory.

Even with the find command, you can specify that you should ignore cases when searching for files by adding the -iname option.

Still, when searching for files, you can exclude some files in your search results. Here, use the not option and add what file names or queries to exclude in your search.
For instance, to show all files in our search results but omit “names.txt”, run the following command.

You can also search for files by specifying their file types. To search only for directories in the specified path, use the -type option and ‘d’ for directory.

If searching for files only, use the -f option.

Another way to search for files is to check all files based on the last accessed time. For instance, you can display the results of all the files accessed the previous day using the -atime option and 1 for the day.

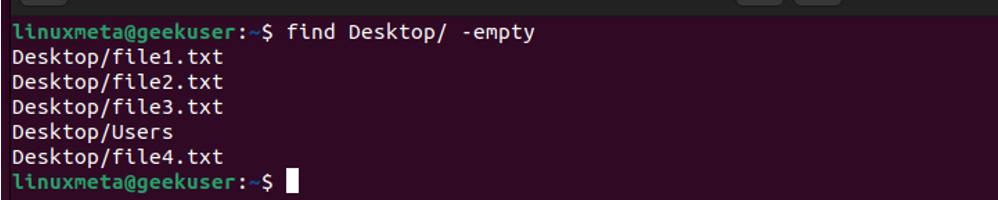
The last example for this case demonstrates a case where we want to search for all empty files. Add the -empty flag, and find will return all empty files in the specified directory or across the system.
Conclusion
The find and locate commands are the two methods you can use to search for files in Linux. The locate command is a quick approach, as it only checks within the database, while the find command has more options and does an extensive search. This post shares the two methods and gives a detailed guide to ensure you are comfortable using either option.