Before you can host web apps written in PHP, in Linux, you must first install the LAMP stack. By installing the stack, you will have Apache for your web server, MySQL will be the database to hold the data, and PHP is the language to use for writing the web apps.
Our focus is how to install Linux, Apache, MySQL, PHP Stack on Ubuntu 22.04 and we will go through the detailed steps you should follow. Through this step-by-step guide, you will manage to have LAMP installed easily. Let’s begin!
Detailed Guide on Installing the LAMP Stack on Ubuntu 22.04
Installing the LAMP stack requires we install each element independently. Linux is the platform where we are installing the stack. To install the other elements, go through each section below.
1. How to Install Apache
There are different web servers that you can use with Linux. However, the LAMP stack uses Apache as the web server. Besides, Apache has a large community support, making it an ideal option for many users.
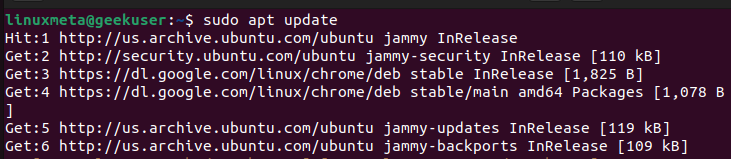
On your Ubuntu 22.04, Apache isn’t installed by default. However, with simple steps, you will have it installed. Start by updating your packages.
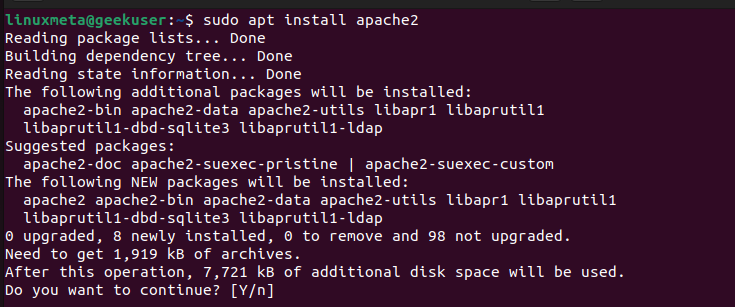
Once you’ve successfully updated your repository, we can then install Apache. Run the following command.
The required packages will be fetched and once the system is ready to install Apache, you will be prompted to confirm by pressing ‘y.’
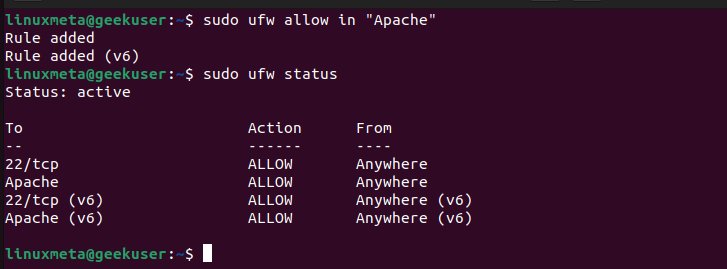
Now that you’ve installed the Apache web server, we still need to configure the firewall to allow Apache connections. On Ubuntu 22.04, we will use the UFW to add a firewall rule allowing connections in Apache.
The two commands below will add the new firewall rule then display its status to confirm that our firewall is well configured.
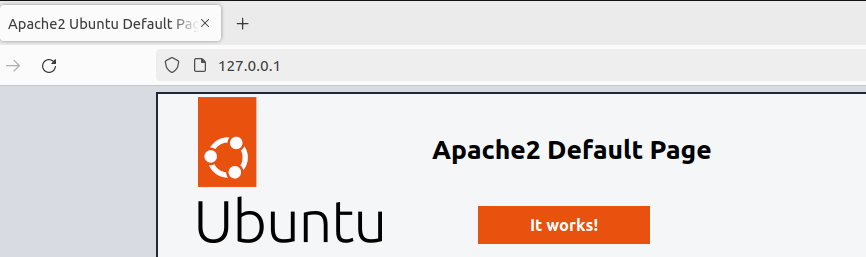
The last step for this phase is confirming that we have our installed Apache web server working correctly. To do so, we must open the Apache test page. Open your browser and visit your server’s IP address. If Apache installed correctly, its default test page will open like in the below image.
2. How to Install MySQL
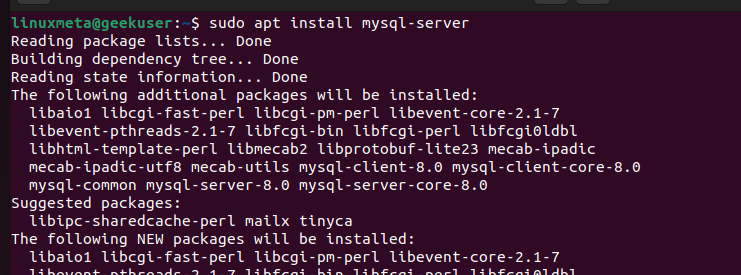
This guide assumes you don’t have MySQL already installed in your system. If you do, skip this phase. Otherwise, let’s go ahead and install it. Start by installing MySQL with the below command.
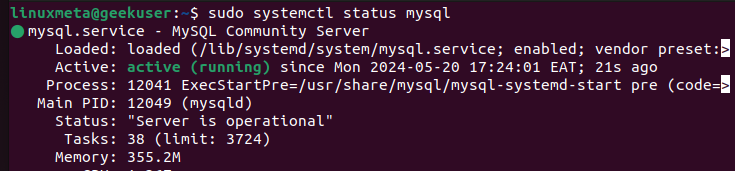
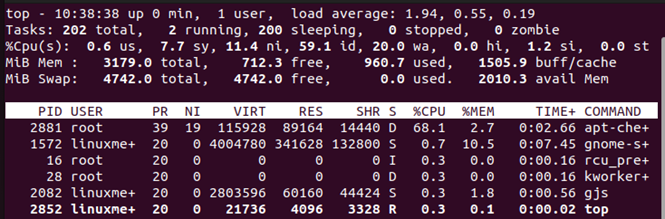
Confirm your MySQL installation by checking the status of the created MySQL service using the systemctl command.
You should get an output showing that MySQL is active (running).
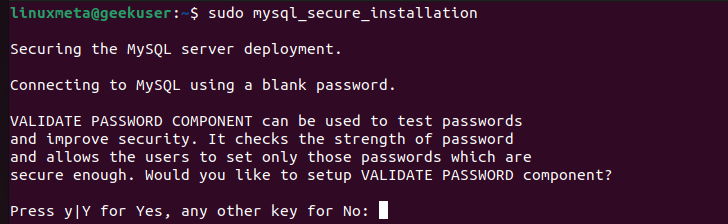
With MySQL, we still must run its installation script to complete installing it. Run it as follows.
Confirm the prompts that will appear.
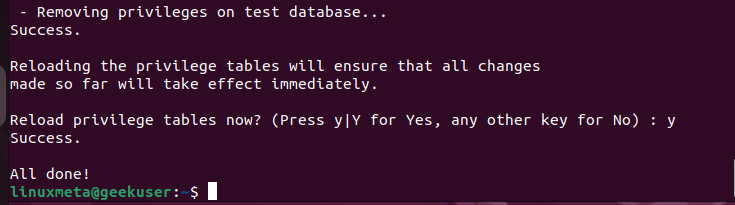
Once you’ve set your preferences in all the prompts, you will get a window showing that the process is done.
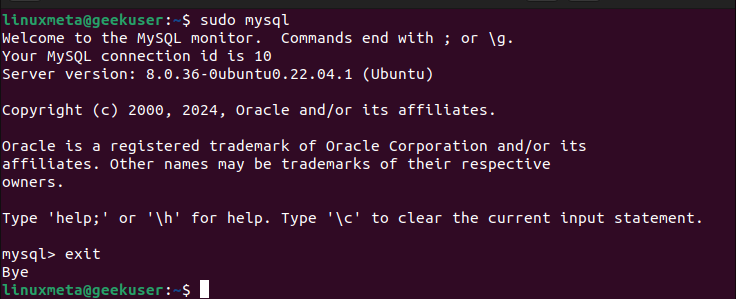
You then need to test the installed MySQL database by opening the MySQL shell using the following command.
Once the shell opens, it confirms that your installation was successful and you are ready to start using the MySQL database.
3. How to Install PHP
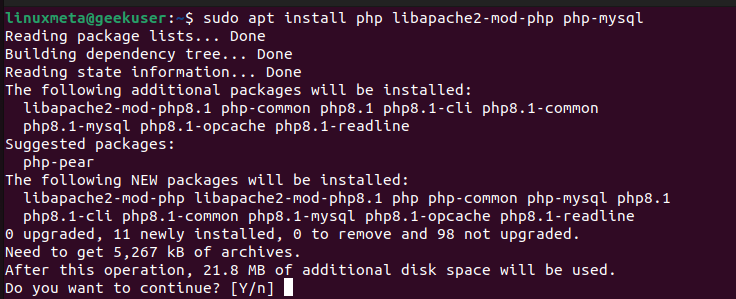
The last phase in installing the stack is to install PHP and it’s required dependencies. To do so, install it with the below command.
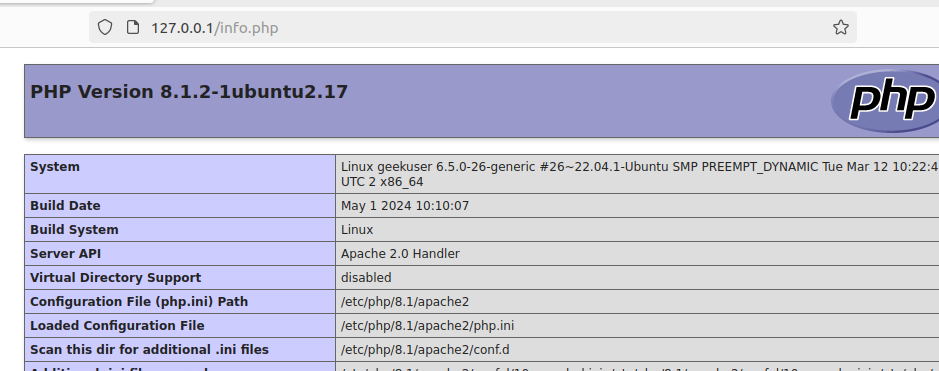
Check the PHP version as a way of confirming that PHP was successfully installed. We have PHP version 8.1.2 for our case.

To test the installed PHP, we must create a test page similar to the one we have when installing Apache. Unlike Apache, we need to write the code for the test page for this case. The PHP file must be saved in the /var/www/html path. Name the file “info.php” or any other name and open the file using a text editor of choice.
Next, add the below PHP line of code and save your file.

Go back to your browser and open the server’s IP address, like you did with Apache. However, add the name of the created PHP file. Once you do so, if PHP installed correctly, it’s test page will open as shown below.
Conclusion
Anyone can install the LAMP stack on Ubuntu 22.04. Once you know what steps to follow and the commands to use, installing the LAMP stack is an easy task. Luckily, this post has detailed the process, including the commands to use.