Are you looking for an easy and comprehensive guide on how to install Node.js on Ubuntu 20.04? Node.js is a cross-platform JavaScript runtime for server-side programming, and it doesn’t come preinstalled on Ubuntu. As such, you must know the available ways and commands to install Node.js on Ubuntu 20.04 quickly and seamlessly.
Luckily, this post shares three ways to install Node.js on Ubuntu 20.04. We will discuss each method in detail, giving the commands you must run. That way, you can try them and see which installation is ideal. Sounds good? Let’s get into it!
How to Install Node.js on Ubuntu 20.04 in Three Ways
There are different benefits you get with using Node.js, the main one being its capability to create scalable backend functionality ideal for creating networking and server-side applications. Node.js comes with npm, which is the default package manager, and depending on the installation method you use, you will also need to install npm to run Node.js. Let’s see the different installation methods you can use.
Method 1: Installing Node.js via the Ubuntu Repository
The Node.js package is available in the default Ubuntu repository and can be installed using apt. Although this is the simplest way to install Node.js, you won’t get the latest version. Instead, you will install the available version in the Ubuntu repository. So, if you want to install a specific Node.js version or the latest one, consider trying the other methods.
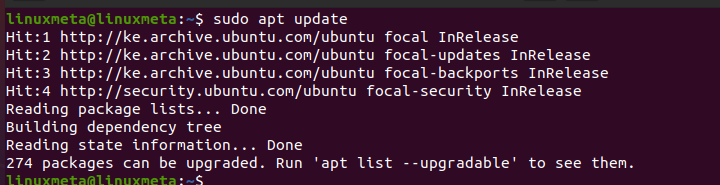
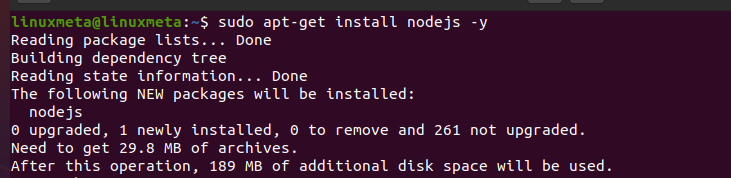
To install Node,js, start by updating the repository.
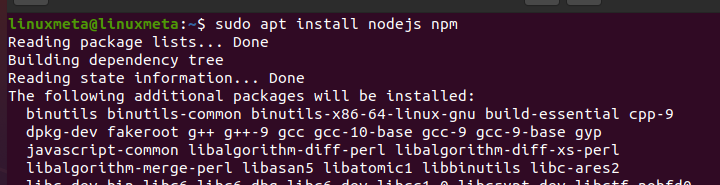
We can now run the Node.js install command below and let the installation run to completion.
The command installs both the Node.js package and its package manager.
After the installation, verify that Node.js and npm are installed successfully by checking the installed version.
The output below shows that we have Node.js v10. However, this is not the latest version, as you will see when we use the other installation methods. Nonetheless, you’ve managed to install Node.js and its package manager.

Method 2: Adding a NodeSource PPA
Using a PPA is the best approach for someone looking to install a specific Node.js version. The NodeSource PPA gives you access to other Node.js versions that can be installed via the official Ubuntu repository.
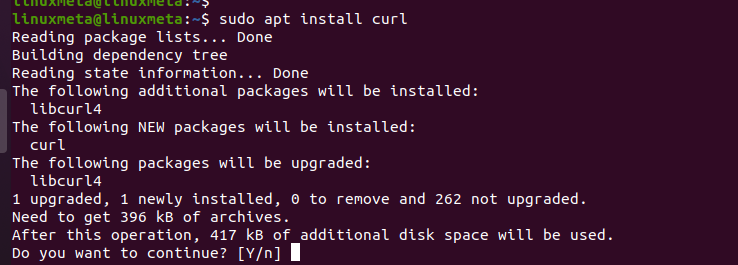
To add the NodeSource PPA, we will use curl. If you don’t have it installed, run the command below.
Next, retrieve the NodeSource PPA using the command below. The NodeSource PPA is a bash script, and you must specify the Node.js version you want to retrieve. For our case, we want to install version 18. We’ve then executed the retrieved script using the combined command illustrated below.
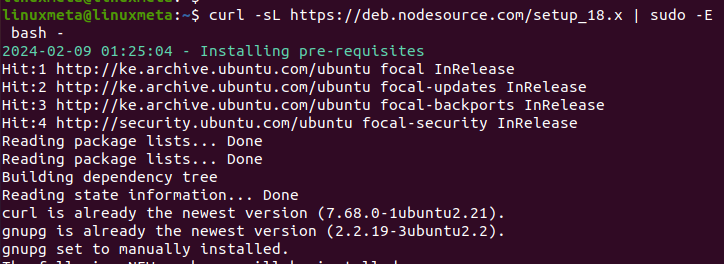
Once the command executes, look out for the last line, where it will show that the repository has been configured. Once you get such an output, you can then install Node.js.

To install it, retrieve it using apt with the below command.
Once the command executes, check the installed version. For our case, we specified version 18, which we get in the output.

Method 3: Using the Node Version Manager
The last method we will discuss for installing Node.js on Ubuntu 20.04 is using the NVM. The key feature you get with using NVM is installing different Node.js versions and specifying which to use at what time.
We will still use curl to retrieve the NVM GitHub script required for the installation. Run the command below to fetch the script file and open it on your terminal before executing it.
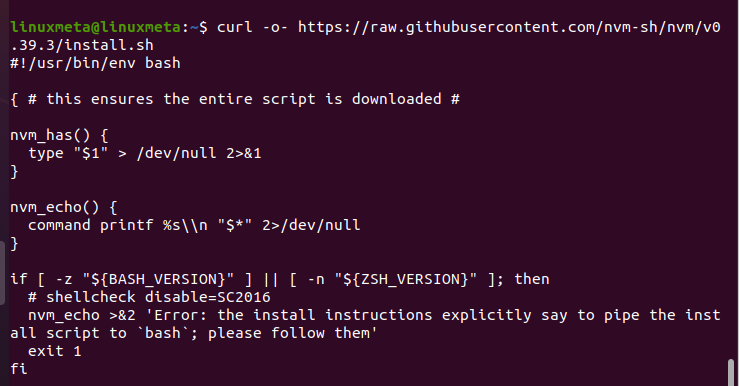
Once you’ve checked the script’s contents, add the | bash syntax to the command to retrieve and execute the script.

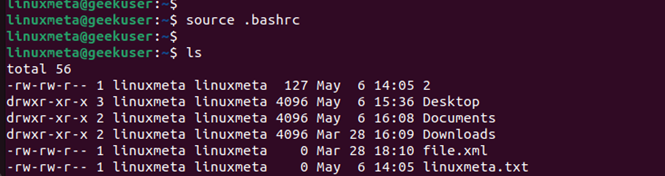
Once the script executes, source your .bashrc file before using it.

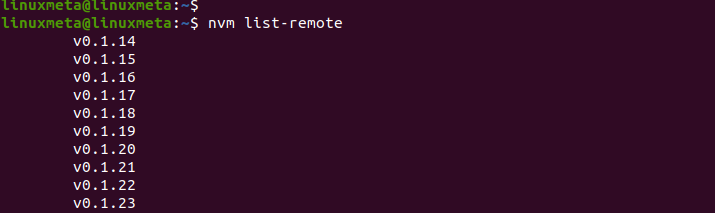
That’s it. You can now list the available Node.js versions that come with NVM.
Notice how there are numerous Node.js versions, unlike what the previous methods gave us.
To install any version, run the nvm install command and specify the target version as in the example below.
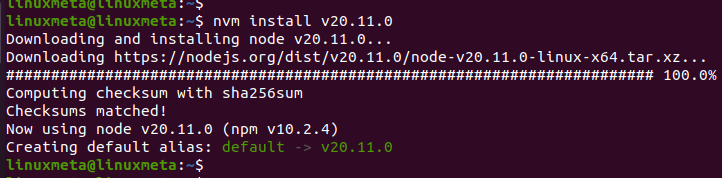
You’ve successfully installed Node.js using nvm. To verify, run the nvm list command to display the active Node.js version.
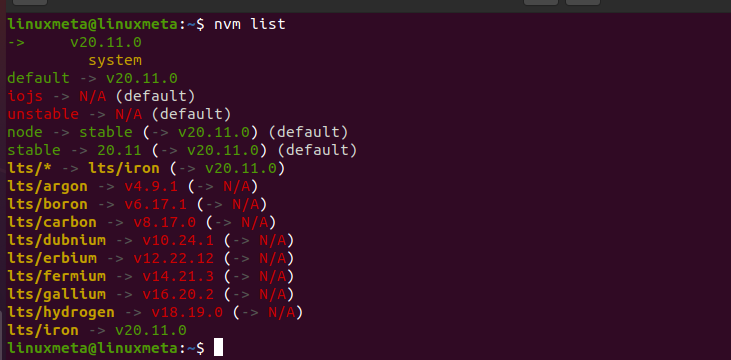
In our case, the version showing as the default one is what we’ve recently installed. You can switch between different versions to align with your project needs.
Conclusion
This post details everything you should know about installing Node.js on Ubuntu 20.04. We’ve presented three installation methods that get the job done. It’s upon you to see which installation method works for you, depending on your goal and project requirements. Have fun running Node.js!