As a Linux user, you often delete files for different reasons. Maybe you want to create more space or feel the file is no longer needed. However, you may find an instance where you’ve accidentally deleted an important file.
Such a case requires you to understand your options to recover the deleted files effectively. Luckily, there are numerous data recovery tools that you can use for data recovery. This post will focus on the Photorec data recovery tool for demonstration. Let’s dig in!
Understanding Photorec Data Recovery Tool and How to Use it to Recover Files
Normally, when you delete a file in Linux, only the link between it and its underlying data gets deleted. However, you can utilize a data recovery tool to access the physical file, which remains intact until it is overwritten.
Photorec is a simple yet effective data recovery tool that comes bundled with TestDisk. With Photorec, you can quickly recover permanently deleted files in Linux. Photorec can also recover files, even from corrupted disks.
Below are the steps to use Photorec to recover files in Linux.
Step 1: Install Photorec
We’ve already mentioned that Photorec comes bundled with TestDisk. Therefore, to install Photorec, you must install the TestDisk package.
Run the below command.
sudo apt install testdisk
Step 2: Open Photorec
Although we’ve installed the TestDisk package, Photorec is now available on our system, and we can launch it to start using it for our data recovery.
Open Photorec with the below command.
sudo photorec
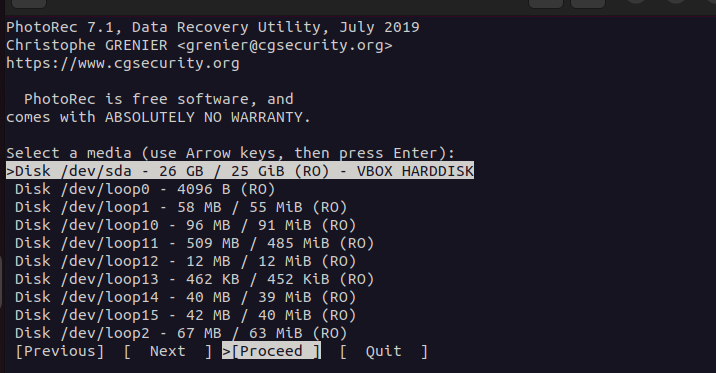
Photorec will open up and display a wizard like the one below, where you must add the required details to facilitate the data recovery process.
The first thing we must select is the disk containing the file you want to restore. The media device you select is what Photorec will scan in its attempt to recover your file.
Therefore, ensure you select the correct media using the arrow keys. At the bottom, once you’ve selected the media, select the Proceed option and press the Enter key.
We’ve selected the /dev/sda for our case.
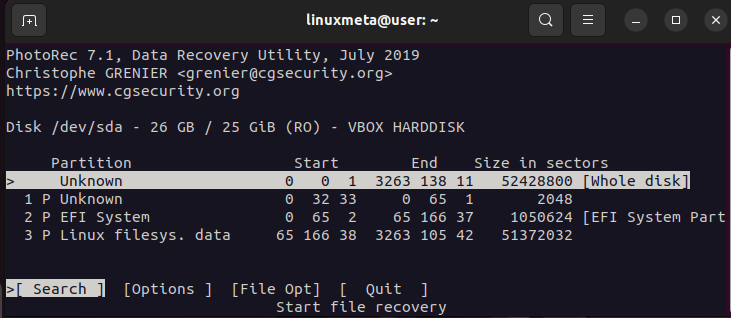
Step 4: Select the Partition
Under the selected media in the previous step, you can highlight the partition where the deleted file was contained. That way, you will give Photorec a more specific search area for the deleted file.
However, if you are unsure, you can go for the [whole disk] for it to recover all the deleted files in all partitions. This option will take longer and recover even the files that are not required.
Ensure you also select the [Search] at the bottom and then proceed by pressing the Enter key.
Step 5: Select the Filesystem Type
You will then be prompted to select the file system of your device containing the deleted file. If your filesystem type is ext2/3/4, select the first option.
However, select the [other] option and press the enter key if using a different filesystem type.

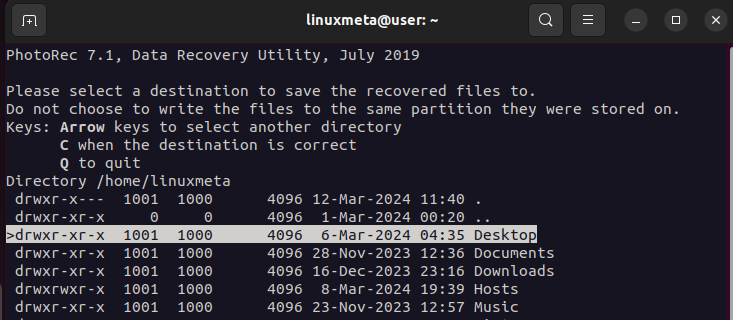
Where do you want Photorec to store the recovered files? Photorec requires you to select the destination to use for the recovered files. Ensure the chosen destination is a different location where the deleted file was stored.
Once you’ve selected the destination using the arrow keys, press C to save the selected destination.
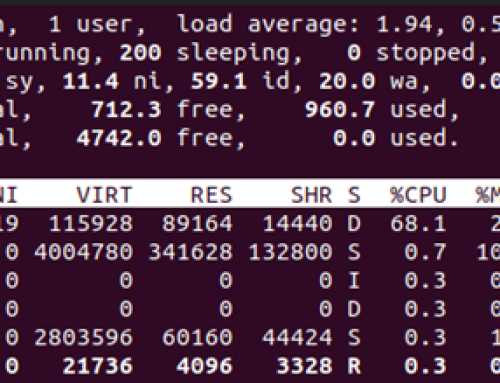
That’s it. Photorec will now start the scan for all the free sectors where the deleted files could have been stored, and the physical files will be recovered while storing them in the selected destination.
You will see a progress bar showing that the data recovery is in progress.

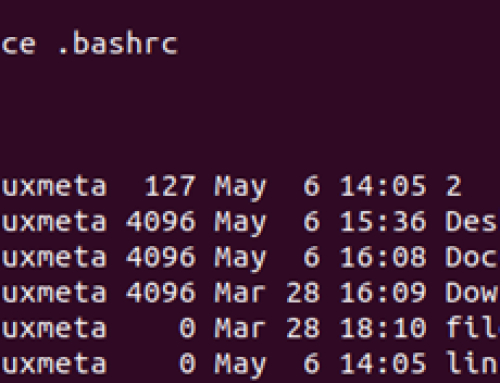
All the recovered files will be saved in your selected destination under the recup_dir. With that, you can recover deleted files in your Linux. Access the recup_dir and search for your target file.
Conclusion
Recovering deleted files in Linux only requires a usable and reliable data recovery tool. Once you have the tool, follow its steps to recover deleted files, and you will hopefully be able to recover your files. This post discusses the Photorec data recovery tool you can use in Linux and gives steps to recover deleted files. All the best!