SSH is the best approach when establishing a remote connection to a server. With SSH, you get an encrypted protocol when communicating with servers, and the connection utilizes port 22. For someone aiming to have numerous remote sessions, you should use SSH, and it all starts with setting up SSH keys.
By default, SSH will require your password to connect to the server. While the connection is secure, you risk your password being compromised via a Brute force attack. However, setting up SSH keys and disabling the password authentication will allow you to add an extra security layer when using SSH. This post shares a detailed guide on achieving this. Take a look!
Step-by-Step Guide to Setting Up SSH Keys on Ubuntu 20.04
SSH relies on the public-private key pair to create an encrypted communication. The public key is stored on the server. When you try to connect to it, the server first checks that the client is authorized if it has a matching private key.
As for the private key, it must be secured and only you should access it. When the private key is compromised, it’s possible to access your server. How do you generate and set up SSH keys on Ubuntu 20.04?
Step 1: Create the SSH Key Pair
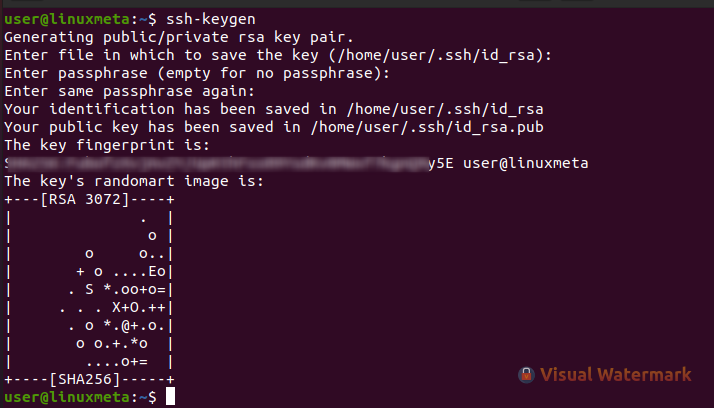
On your client machine, that’s where you generate the SSH key pairs. The key is a 3072-bit RSA key, and you can generate it using the command below.
When you run the command, you will be prompted to select where to save the key. Otherwise, the default location displayed in the output will be used to save it.
Again, if the SSH key pair already exists, you will be prompted whether to overwrite it. For this case, let’s use the default location and press the enter key to continue.

Next, you will be prompted to set a passphrase for authentication. Although you can do without it, a passphrase adds additional security, and you should consider adding it.
Once you have all the details, you will get an output showing the generated key fingerprint.
You’ve generated the required SSH keys to securely connect to a remote server. However, that’s not all. Read on!
Step 2: Copy the Generated Public Key to the Server
The generated SSH keys contain the private and public keys required for authentication. However, we must send a copy of the public key to the server so that it can be used to verify the client when establishing a remote connection.
There are two options that you can use to copy the public key. You can use the ssh-copy-id command or choose to copy it manually.
For the first method, you must get your remote host’s IP address and username. Once you have the details, run your command as follows.
If it’s your first time connecting to the server via SSH, you will get an output prompting you to confirm that you want to proceed with the connection. Type ‘yes’ and continue.

The next activity is to enter the password for your remote account. Once it matches out, you will get an output showing that the key has been added.
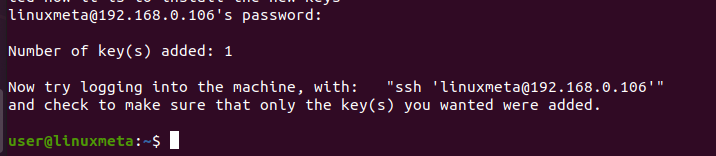
The next time you try establishing the SSH connection, you won’t need to type your password. You will have a secure but password-less connection.
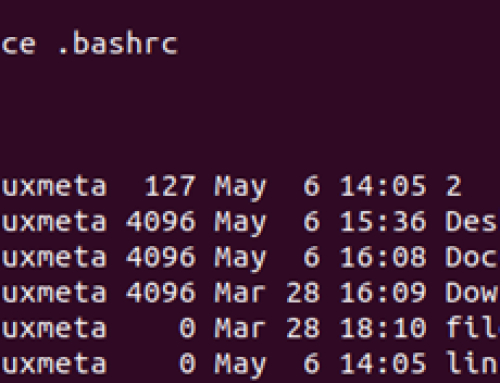
You must run a few commands if you prefer copying the public keys manually. First, verify the key is present by opening where we saved it in Step 1. We are using the cat command for this.
You will get an output showing your key.
Next, access your remote host and create the ~/.shh directory if it doesn’t exist. Moreover, create a file to contain the key. We’ve used the touch command for this.
Modify the permissions for the directory and the file.
Lastly, copy the key using the echo command.
Step 3: Access the Server
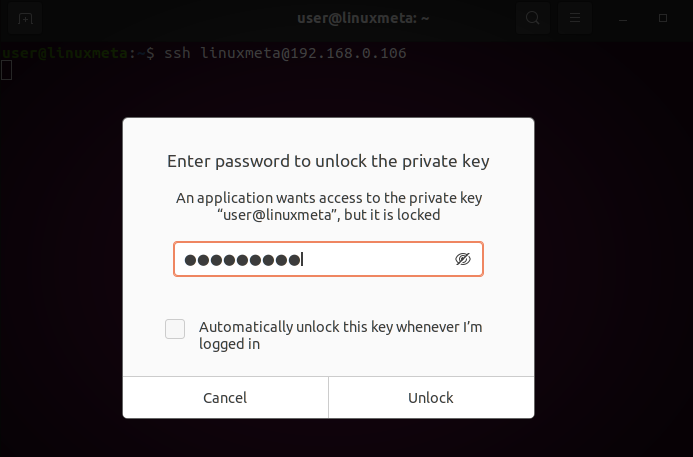
At this point, we need to verify that we can connect to the server without a password. Run the SSH command below.
Since we set up a passphrase, we must first enter it to unlock the private key and establish the connection. If you didn’t set a passphrase, you will automatically log in.
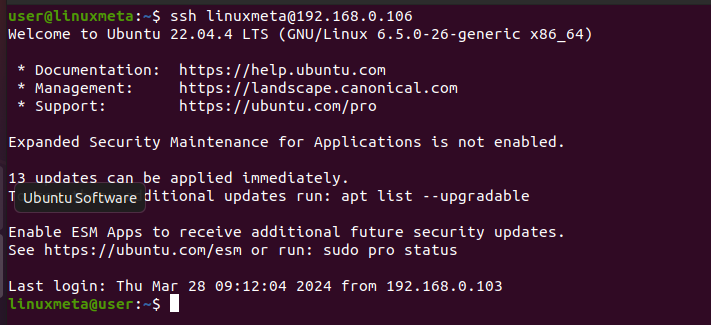
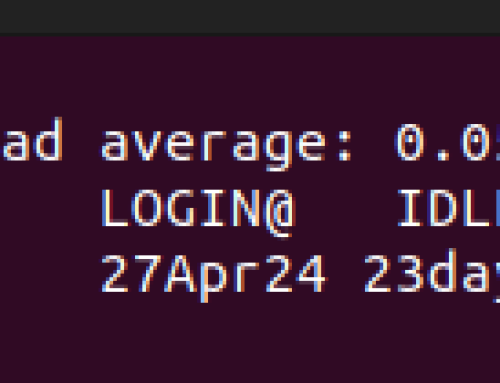
You will receive a welcome message verifying that your SSH connection is successful.
Step 4: Disable Password Authentication
The last step is to disable password authentication by accessing the SSH configuration on our remote host.
Open the configuration file using a text editor.

Once the file opens, scroll down and find the PasswordAuthentication to ‘no,’ as in the below output.

Save the changes and exit the text editor. Restart SSH to apply the changes.

Conclusion
SSH offers a secure protocol for connecting to a remote host. SSH relies on the public-private key pair to create the encrypted connection. This post discusses all the steps to set up SSH keys on Ubuntu 20.04. Follow along and secure your remote connection.